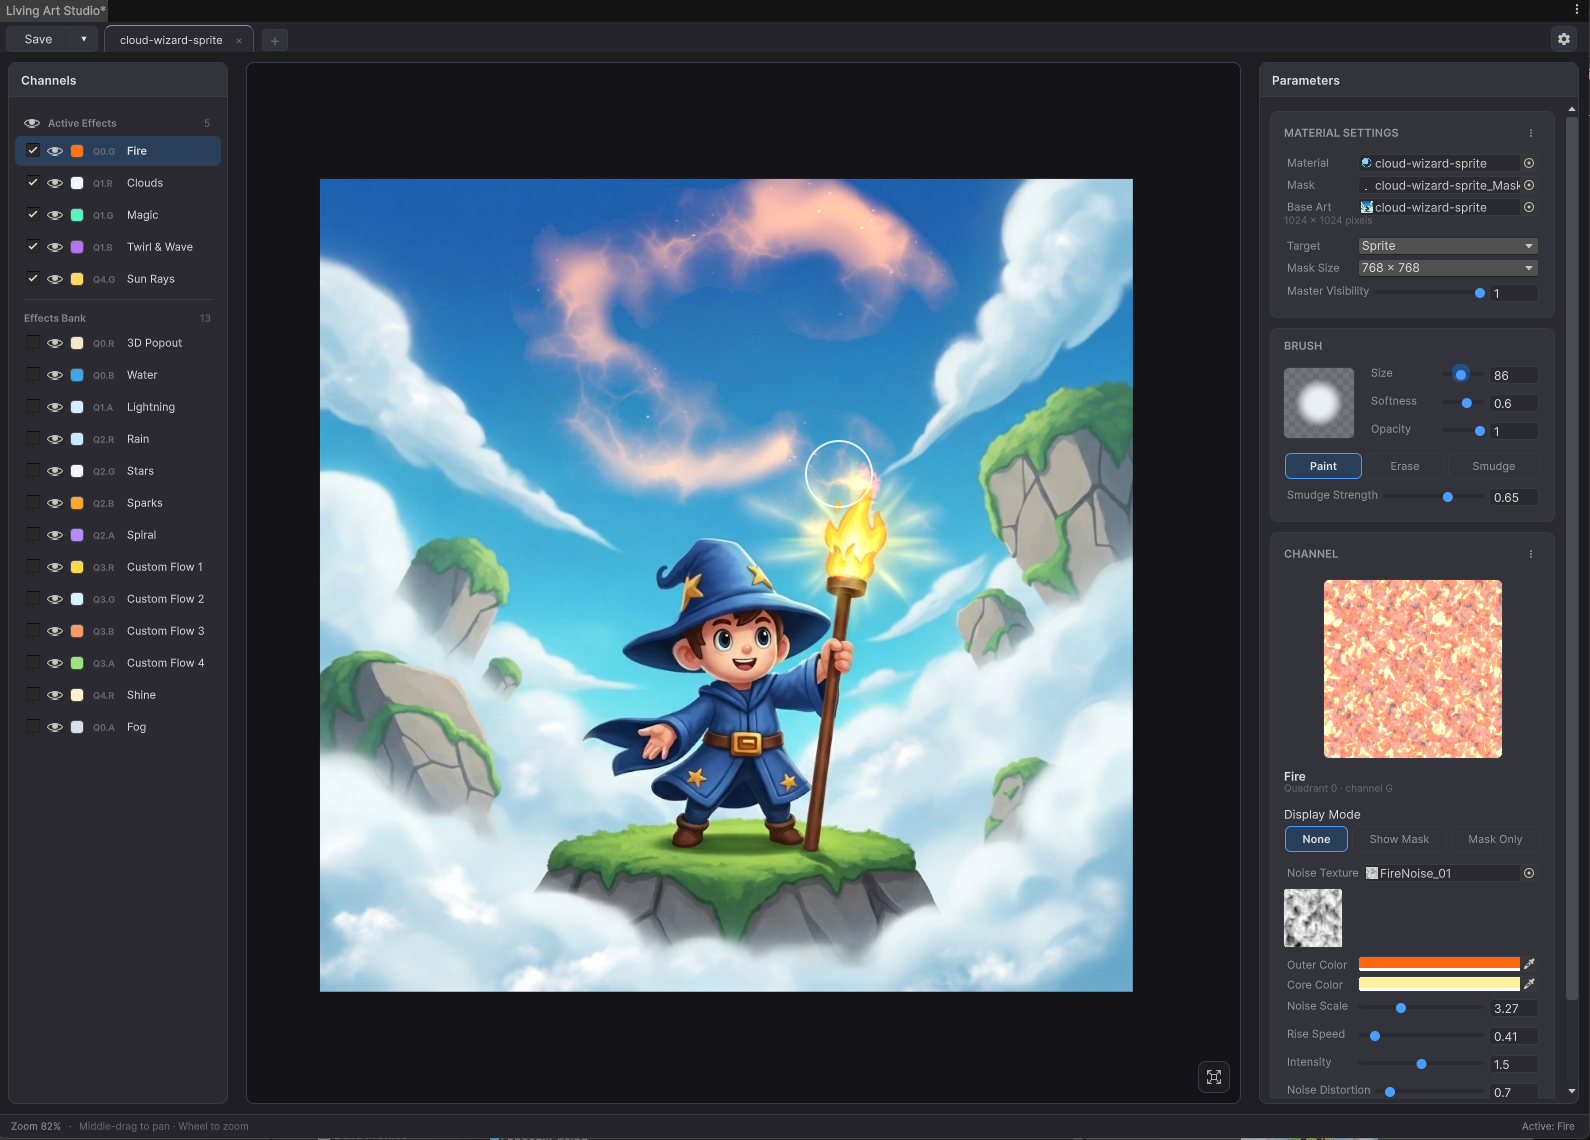
The Editor Window
A tour of the canvas, the channels list, the brush, and where everything saves.
The Editor Window
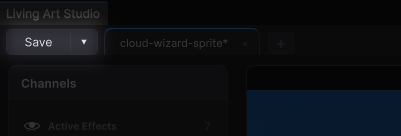
Tabs
The toolbar contains a tab strip. Each tab represents an independent editing session for a single material, which allows several materials to remain open simultaneously and to be switched between in the same way as browser tabs. The + button creates a new tab.
Settings ⚙
Opens the settings popup, which contains common tool options.
Channel List & Visibility
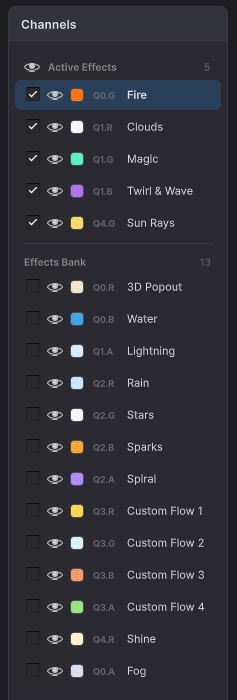
Each row in the Channels sidebar represents a single effect channel and exposes two independent toggles.
The first toggle, the checkbox on the left of the row, is the Activate switch. Enabling it instructs the material to render that effect, and the change is persisted to the asset on save.
The second toggle, the eye icon, controls only the editor preview. It shows or hides the effect on the canvas during authoring. The eye state is never written to the material, which makes it possible to solo individual channels while painting without affecting the saved asset.
Rationale. The Activate toggle expresses an authoring decision (“this material contains a fire effect”) and is part of the asset. The eye icon is an editor-only convenience (“hide every other channel while tuning water”) and is not included in the build.
Master toggle: Show All Channels
The master toggle, located above the channel list, flips every row's eye state simultaneously. It does not modify any channel's activation state.
Save / Save As
Save writes the material and its mask PNG to their existing locations. Save As… prompts for a folder and file name. Changes must be saved before they are visible at runtime.
Brush Tools

Painting is the default canvas action. A left-click and drag adds to the active channel's mask. Holding Ctrl while dragging erases instead of painting, and holding Shift smudges existing pixels without adding or removing coverage.
Brush settings (right sidebar)
Three sliders configure the brush. Size ranges from 2 to 200 pixels and is previewed live as a circular cursor on the canvas. Softness controls the edge feather, ranging from a hard-edged disc at 0 to a full Gaussian falloff at 1. Opacity limits the per-stroke contribution, which is useful when coverage needs to be built up in multiple passes rather than applied at full strength in a single stroke.
Pan and zoom
Middle-mouse dragging pans the canvas. The mouse wheel zooms in and out, anchored at the cursor position so the focused area remains under the cursor. The Reset View button on the toolbar fits the canvas to the window. This is also the default state when a material is first opened.
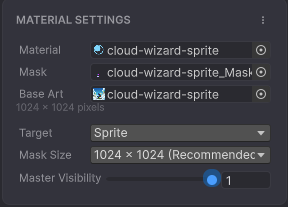
Material Settings
Mask Resolution sets the size of the painted mask atlas. The default value is 1024 pixels, with 256, 512, 2048, and 4096 also available. Higher resolutions provide additional painting precision per channel and produce sharper Custom Flow path bakes, at the cost of increased memory usage.
Master Intensity is a global multiplier applied to every effect. It defaults to 1.0 and accepts values between 0 and 1, where 1 represents fully visible effects and 0 disables all effect output.